warp terminal

Revolutionizing Development Workflows: How to Run Warp Terminal on Windows 10

In Revolutionizing Development Workflows: How to Run Warp Terminal on Windows 10, in the rapidly evolving world of software development, efficiency and flexibility are paramount. The introduction of Warp Terminal, a state-of-the-art terminal emulator designed with modern developers in mind, has reshaped how we think about command line interfaces.

Originally built for macOS and Linux, its features have made developers keen to use it across various platforms, including Windows. This blog will guide you through setting up Warp Terminal on a Windows 10 system using the Windows Subsystem for Linux (WSL) and delve into the transformative features of Warp that are catching the eyes of developers everywhere.

Enabling Windows Subsystem for Linux (WSL)

The first step in this journey is to enable the Windows Subsystem for Linux, a compatibility layer for running Linux binary executables natively on Windows 10. Here’s how:

  1. Open PowerShell as Administrator: Search for PowerShell in the Start menu, right-click on it, and select ‘Run as administrator’.
  2. Enable WSL: Type the following command and press Enter:

Enable-WindowsOptionalFeature -Online -FeatureName Microsoft-Windows-Subsystem-Linux

  • Restart Your Computer: This step is crucial as it completes the installation of WSL.

Installing a Linux Distribution

With WSL enabled, you can install a Linux distribution of your choice directly from the Microsoft Store:

  1. Access the Microsoft Store: Click on the Microsoft Store icon on your taskbar or search for it in the Start menu.
  2. Search for Linux: Type ‘Linux’ in the search bar, choose your preferred distribution (such as Ubuntu, Debian, etc.), and click ‘Get’ to install it.

For this setup, I’ve tested both Ubuntu and Kali Linux, which are popular choices for their robust community support and extensive repositories.

Setting Up Your Linux Environment

Once your Linux distribution is installed:

  1. Launch the Distribution: Find it in the Start menu and open it. It will finalize its installation and prompt you to create a user account and password.
  2. Update and Upgrade: Keeping the system updated is crucial. Run:

sudo apt update && sudo apt upgrade

warp terminal

Installing Warp Terminal

To install and start up Warp Terminal in a Linux environment on Windows 10 using the Windows Subsystem for Linux (WSL), follow these adapted steps, similar to those for a native Linux installation but optimized for WSL.

First, enable WSL through your Windows features, and then download a Linux distribution like Ubuntu or Kali Linux directly from the Microsoft Store—just as you would with any other app. Once your Linux environment is set up, you can proceed with installing Warp Terminal.

This streamlined explanation ensures clarity and provides a direct path for users unfamiliar with downloading Linux distributions from the Microsoft Store, making the process accessible even for beginners.

Step 1: Open WSL

First, make sure you have WSL installed (you can refer back to earlier instructions on setting up WSL and a Linux distribution on Windows 10). Open your Linux distribution through the Windows start menu or by typing the name of the installed Linux distribution in your terminal, e.g., ubuntu.

Step 2: Update Your Linux System

It’s a good practice to ensure your packages are up-to-date before installing new software:

sudo apt update && sudo apt upgrade

Step 3: Import Warp’s GPG Key

Warp packages are signed with a GPG key to ensure authenticity. Import this key:

wget -qO - https://pkg.warp.dev/key.asc | sudo apt-key add -

Step 4: Add Warp’s Repository

Add the Warp repository to your list of sources:

echo "deb [arch=amd64] https://pkg.warp.dev/stable/ /" | sudo tee /etc/apt/sources.list.d/warp.list

Step 5: Install Warp

With the repository added and your package list updated, you can now install Warp:

sudo apt update

sudo apt install warp-terminal

Step 6: Launch Warp Terminal

To start using Warp Terminal, you can launch it directly from your WSL environment by typing:

warp-terminal

warp terminal

Exploring Warp Terminal’s Features

Warp Terminal is not just another terminal emulator. It incorporates unique features designed to enhance productivity and user experience:

  • Warp AI: Integrated with AI technologies, Warp offers command suggestions and coding assistance, reducing errors and speeding up the development process.
  • GPU Accelerated Rendering: Warp uses the GPU to render its UI, ensuring smooth interactions even with extensive output, supporting over 144 FPS for a seamless experience.
  • Collaborative Features: With Warp Drive, teams can share templated commands and runbooks, making collaborative work more straightforward than ever.
  • Blocks: Warp introduces a block-based UI where each command and its output are treated as discrete units, enhancing the clarity and manageability of terminal outputs.

Tips for Smooth Operation on Windows

Running Linux applications on Windows through WSL is efficient, but here are a few tips to enhance your experience:

  • File Management: Store project files within the Linux file system accessed through WSL to avoid issues that might arise from handling files across systems.
  • Keep WSL Updated: Microsoft frequently updates WSL, so keeping it up-to-date ensures you have the latest features and security enhancements.

My Final Thoughts

Incorporating Warp Terminal into your Windows 10 setup via WSL, especially with thorough testing on both Ubuntu and Kali Linux, positions you at the intersection of Linux’s robust capabilities and Windows’ user-friendly interface. This fusion not only enhances the suite of tools at your disposal but also syncs perfectly with the evolving needs of contemporary software development.

Warp Terminal stands out from traditional terminals by integrating an AI directly within the terminal interface, offering interactive, clickable commands that significantly streamline workflows. This AI-enhanced capability transforms the terminal from a mere command execution environment into a dynamic, intelligent workspace that anticipates your needs and simplifies processes.

For developers of all skill levels, Warp Terminal via WSL on Windows 10 represents a powerful, transformative tool. It redefines the coding experience, offering unprecedented efficiency and innovative potential. With Warp Terminal, you harness the best of both platforms, proving that the right technological tools are key to achieving enhanced productivity and creativity in your software projects.

Click here to return to the blog

Click here to return to the main page

ITRP19 Note Guide Flameshot: Powerful Screenshot Tool

Introduction


In today’s digital age, capturing and sharing information is a fundamental part of our daily lives. Whether you’re a student, professional, or simply someone who loves to document their experiences, having a reliable screenshot tool can greatly enhance your productivity. 

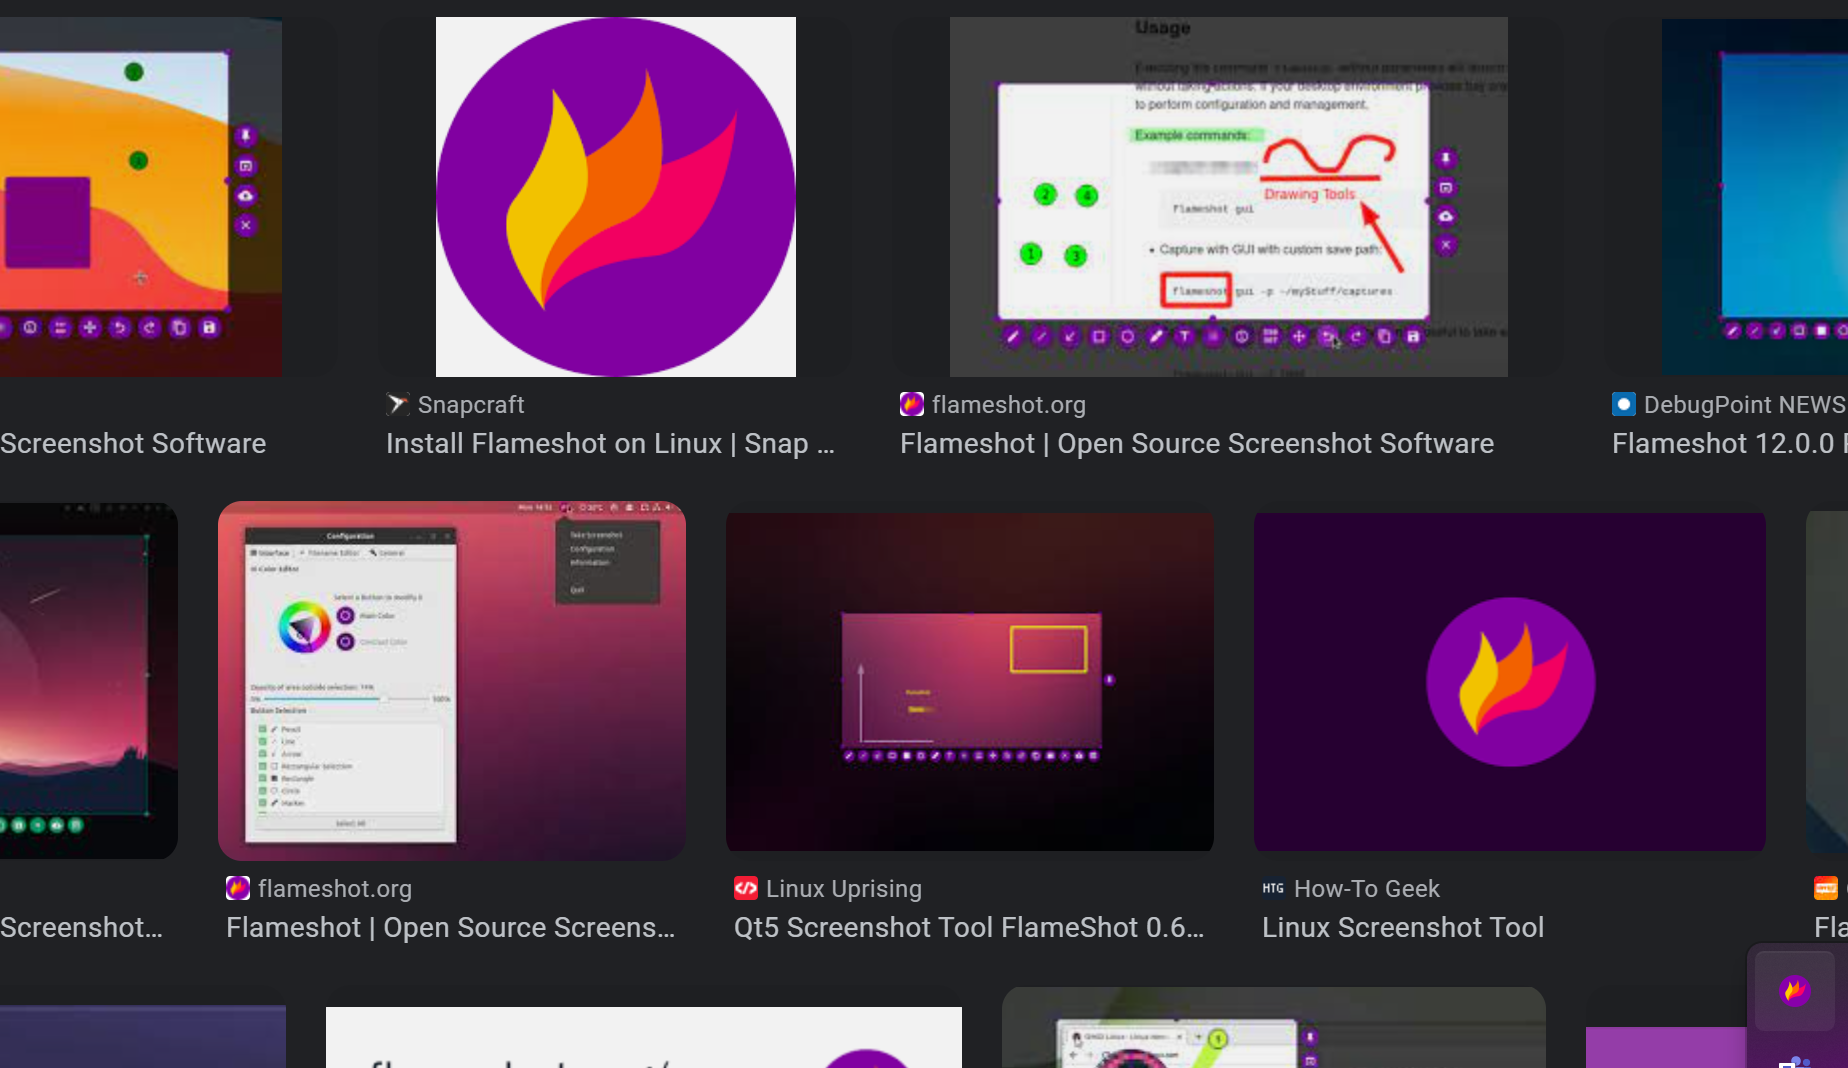
If you’re a Windows, Apple, or Linux user, one tool that stands out among the rest is Flameshot. In this ITRP19 Note Guide, we’ll explore how Flameshot can revolutionize the way you capture and annotate screenshots on your operating system, making it an invaluable companion for your note-taking and documentation needs.


Flameshot is

A highly versatile screenshot tool that caters to the needs of users across various operating systems. Whether you’re working on Windows, Apple, or Linux, you can easily obtain Flameshot by visiting their official website. 

The availability of Flameshot for multiple platforms ensures that users can take advantage of its powerful features regardless of their operating system preference. So, whether you’re a Windows enthusiast, an Apple aficionado, or a Linux devotee, you can download and harness the capabilities of Flameshot to capture, annotate, and share screenshots seamlessly.


Originally developed

As a Linux tool, Flameshot has gained immense popularity among Linux users for its exceptional screenshot capabilities. To install Flameshot on a Linux-based operating system, users typically utilize the command-line interface, commonly known as the shell. 

By accessing the shell, users can easily download and install Flameshot using package managers such as apt, dnf, or pacman, depending on the specific Linux distribution they are using. This installation process allows Linux users to quickly integrate Flameshot into their workflow, enabling them to effortlessly capture and annotate screenshots with a multitude of customizable options. 

Despite its origins as a Linux tool, Flameshot’s flexibility and compatibility have expanded to encompass other operating systems, making it accessible to Windows and Apple users as


The first time

I experienced Flameshot on Windows, I encountered a slightly different installation process compared to its native Linux counterpart. In order to get Flameshot up and running, I had to download Chocolatey, a popular package manager for Windows. 

With Chocolatey installed, I followed a simple step-by-step walkthrough provided on Flameshot’s GitHub page. The walkthrough guided me through the necessary commands to install Flameshot and its dependencies, ensuring a smooth setup process. 

Although the initial steps of downloading Chocolatey and following the GitHub walkthrough might seem unfamiliar to Windows users accustomed to more traditional installation methods, they proved to be straightforward and efficient. Once installed, Flameshot seamlessly integrated into my Windows system, empowering me with the same powerful screenshot capabilities and annotation tools that Linux users have come to love. The effort invested in the initial setup was well worth it, as Flameshot became an invaluable asset in my daily workflow on Windows.


Gone are the days of complex

Installation procedures and platform limitations for Flameshot. Thanks to the development team’s efforts, now anyone can easily install Flameshot on any operating system by visiting the official website, www.flameshot.org

The website provides straightforward instructions and downloadable packages tailored for Windows, Apple, and Linux users. Whether you’re running Windows 10, macOS Big Sur, or the latest version of your favorite Linux distribution, you can effortlessly obtain Flameshot directly from the website. By offering platform-specific packages, Flameshot ensures a seamless installation experience for users across different systems, eliminating the need for additional package managers or manual configurations. 

This user-friendly approach allows anyone to harness the power of Flameshot’s feature-rich screenshot capabilities, regardless of their preferred operating system. With just a few clicks, you can now unlock the potential of Flameshot on your system and elevate your screenshot game to new heights.


Final Thoughts

Writing this blog post about Flameshot has been an enlightening experience. Exploring the features and installation process of Flameshot has showcased its power and versatility as a screenshot tool. Its availability for Windows, Apple, and Linux users from the official website, www.flameshot.org, is a significant advantage, ensuring accessibility and convenience across different operating systems. While Linux users may be familiar with the traditional shell-based installation process, Windows users can now easily install Flameshot with the help of Chocolatey and the walkthrough provided on GitHub. Regardless of the initial setup, the effort invested is well worth the seamless integration of Flameshot into your workflow.

Flameshot’s annotation tools, customizable shortcuts, and the ability to blur sensitive information make it a comprehensive tool for capturing and editing screenshots. Its user-friendly interface and intuitive features make it suitable for various purposes, such as note-taking, documentation, and sharing visual information.

Overall

Flameshot stands out as a powerful screenshot tool that caters to the diverse needs of users on different operating systems. Whether you’re a student, professional, or simply someone who wants to enhance their screenshot capabilities, Flameshot is a reliable and feature-rich choice. So, visit www.flameshot.org, download Flameshot for your system, and experience the convenience and efficiency of this remarkable screenshot tool firsthand.

In addition to sharing their great product with a blog, it’s worth noting that the Flameshot team’s dedication goes beyond just creating a remarkable screenshot tool. Despite their hard work and the value they provide to the community, they have made the conscious decision to not accept direct donations. This selflessness speaks volumes about their commitment to open-source principles and the desire to create a tool that benefits as many users as possible without any financial barriers.

By writing this blog and spreading the word about Flameshot, we can contribute to their mission by increasing awareness and adoption of this fantastic tool. Through our support and promotion, we can help the Flameshot team continue their development efforts and make Flameshot even better in the future.

Click here to return to the blog

Click here to return to the main page